Connecting the PDC to Planning Space
The PDC appears in Excel as an 'Add-in'. The installation steps needed depend on how the add-in has been deployed, either 'Admin Managed' or in a 'Shared manifest folder'; please check these details with your local Planning Space Administrator.
Install PDC as an 'Admin Managed Add-in' (only for Microsoft 365 Apps for enterprise (Office 365 ProPlus))
Click My Add-ins on the Insert ribbon, to open the Office Add-ins selector, and then click the ADMIN MANAGED tab. This will show one or more available PDC add-ins (check with your local Planning Space Administrator about which one to use, if there is more than one). For example:

Double-click the PDC Add-in button, and it will be locally installed to your personal Excel setup. A new button will appear in the Insert ribbon. Clicking this button will open the PDC control interface in Excel:

The EXTRACT and UPDATE tabs will be disabled until you make a Sign In to a Planning Space tenant.
Install PDC from a shared manifest folder
The shared manifest folder needs to be initially setup to be accessed by Excel. See Configure the Excel Trusted Add-in Catalog.
Next, click My Add-ins on the Insert ribbon, to open the Office Add-ins selector, and then click the SHARED FOLDER tab. This will show one or more available PDC add-ins (check with your local Planning Space Administrator about which one to use, if there is more than one). For example:

Double-click the PDC Add-in button, and it will be locally installed to your personal Excel setup. In Microsoft 365 Apps for enterprise (Office 365 ProPlus), a new button will appear in the 'Insert' ribbon (see screenshot above). In Office 2016, the add-in can be launched by clicking the drop-down menu of 'My Add-ins' on the 'Insert' ribbon.
Sign In to Planning Space

In the PlanningSpace Data Connector pane, enter the server address and tenant name (if not already inserted), and click the Sign In button.
You will see a login dialog in a separate window titled 'Authentication Provider Redirect':
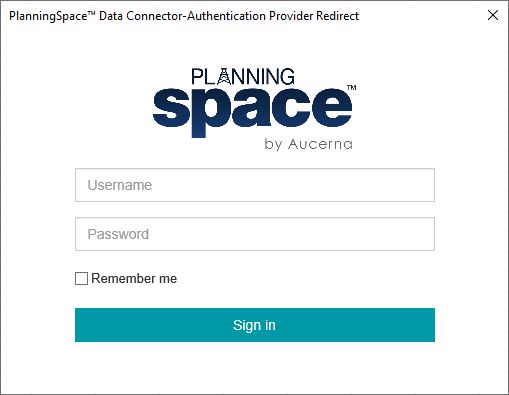
Enter your user credentials, and click the Sign in button.
If your account username is in the form of a Windows UPN (something like 'first.lastname@domain.mycompany.com') then you do not type in a password; in this case the login screen will be re-directed to an Identity Provider server, at which point you may be required to select one of several federated accounts, and you may be requested to enter your federated password. (The details depend on how Planning Space authentication has been configured for your server.)
If connection is successful, the login window will close and the PDC pane will now have the EXTRACT and UPDATE tabs activated, and the button at the bottom will become Sign Out:
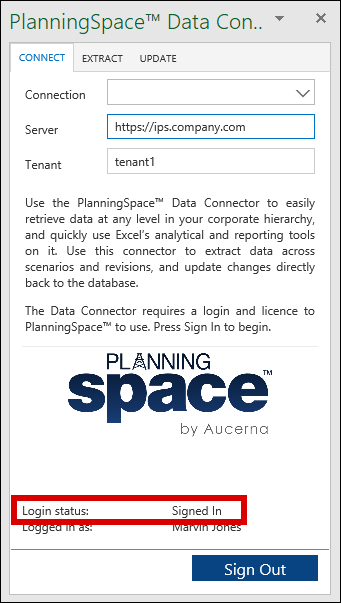
You are now ready to use the PlanningSpace Data Connector.
Saving PDC connection settings
PDC connection information can be saved for future use.
Click inside the Connections input box and then select Manage Connections. Already-stored connections will appear in the Connections dropdown list.